
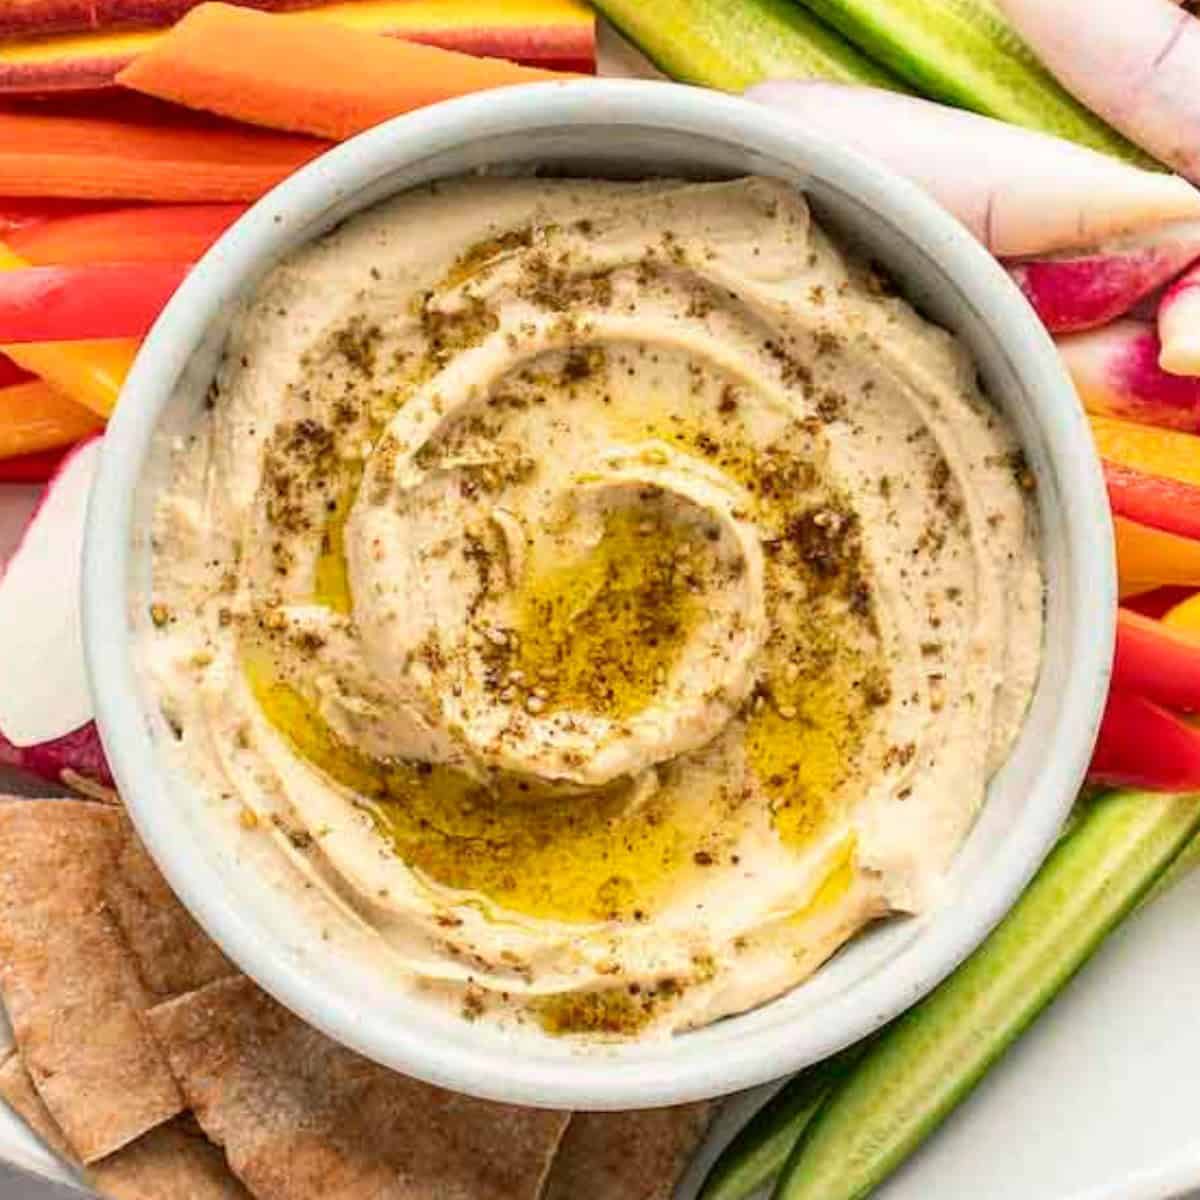
I experimented with many different hummus recipes so you don't have to. This Homemade Hummus is the ultimate in smooth, creamy, and flavorful.
I ran trials with different ingredients, ratios, and techniques. This classic hummus has a smooth texture and nicely balanced flavor with garlic, tahini, and lemon juice. I love how a hint of cumin gives this dip a little extra deliciousness without being too distinct.
Follow my tips, and you too can make dreamy hummus.

Hummus is a popular Middle Eastern appetizer dip. Serve it with dippers like pita chips, laffa flatbread, or a vegetable platter.
In addition, hummus is an essential component to many Middle Eastern and Israeli dishes. It's a creamy topping that pairs well with arayes, pargiot chicken, lahmacun, shawarma, and falafel, to name a few.
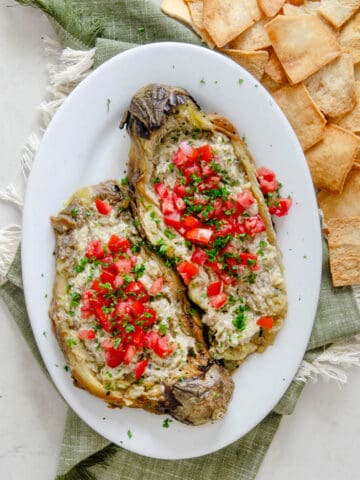
If you love having dips on hand for casual entertaining or family snacking, then also try Roasted Eggplant Dip, Green Tahini Dip, or Matbucha (tomato and red pepper dip).
Jump to:
Hummus Ingredients
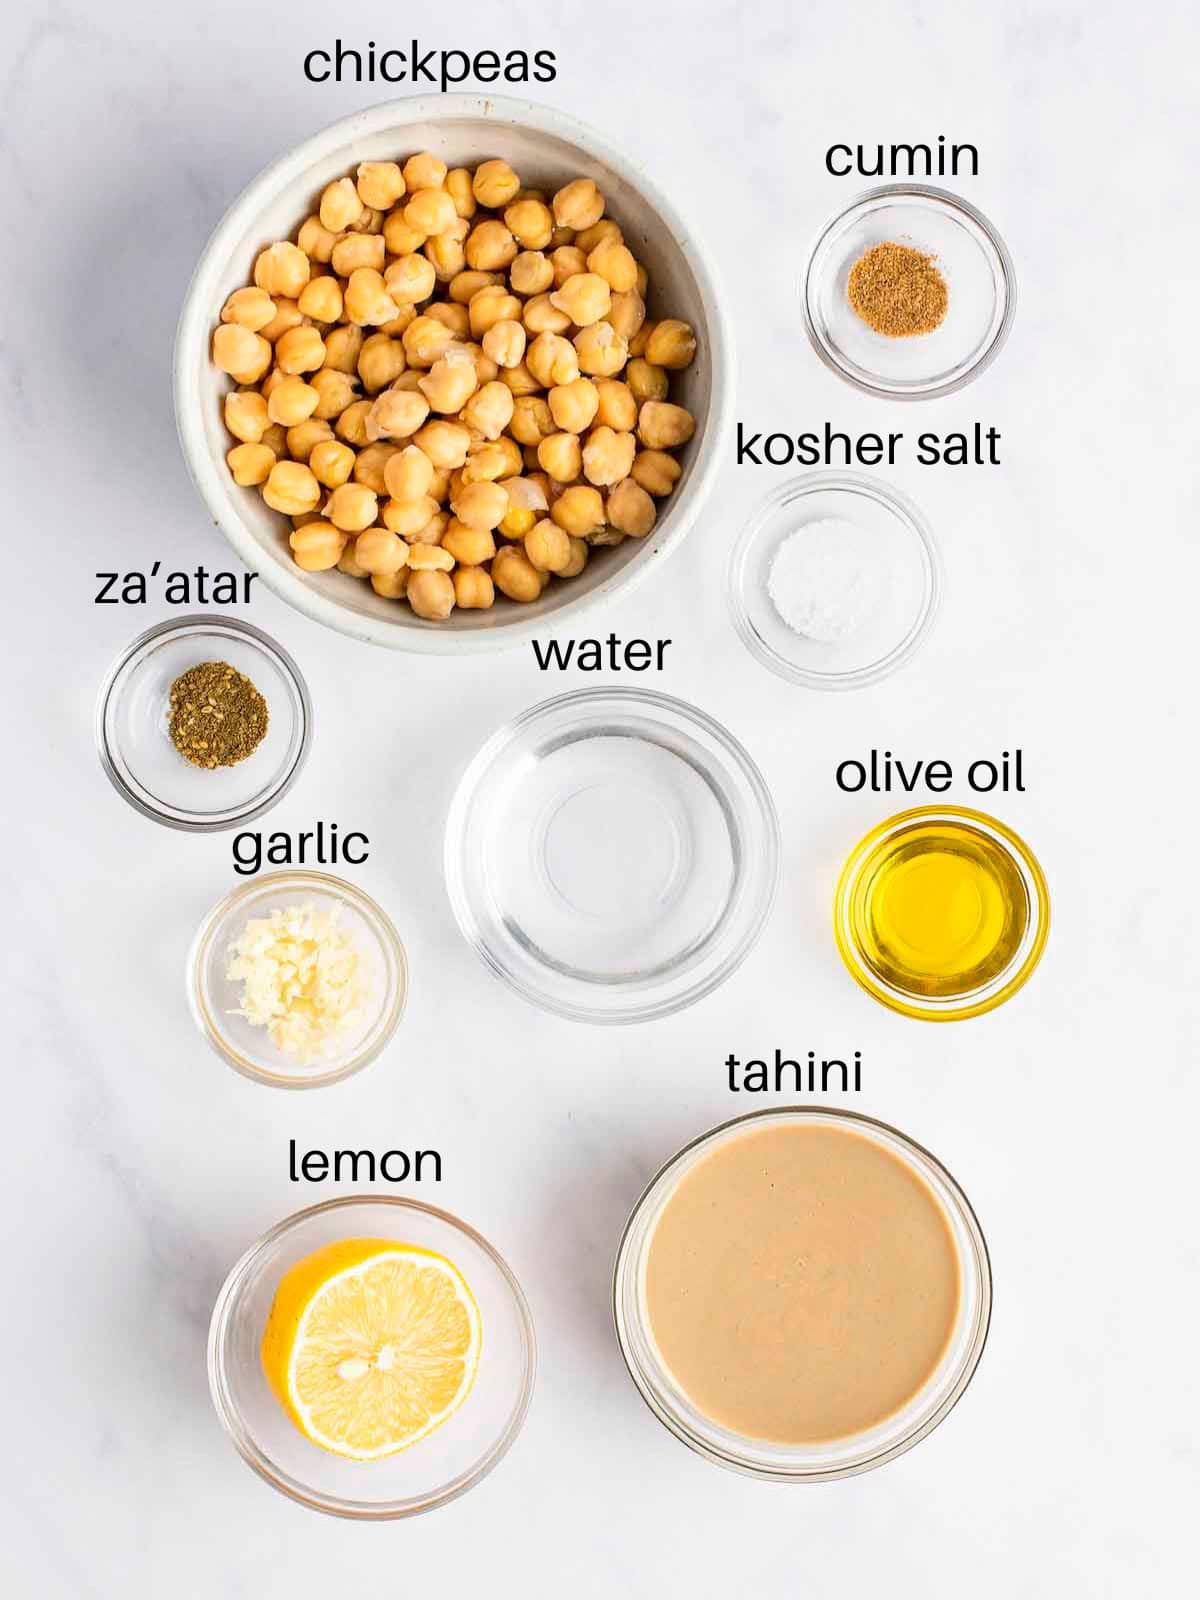
See the recipe card below for a complete ingredient list and measurements.
Hummus is a dish where the quality of the ingredients really matters. There are only a few ingredients, and each one makes a noticeable difference in the final taste.
- Chickpeas (also known as garbanzo beans): I used a box of ready-to-eat Melissa’s Produce's Peeled and Steamed Chickpeas (9 oz). Include any liquid. I like this product because the chickpeas are peeled, and they have a fresh taste which is not metallic. They are a great shortcut to use when you don't have time to cook chickpeas from scratch.
These chickpeas are sold in some supermarkets and can be found in the produce department refrigerated case. In Los Angeles, I've seen them at Gelson's Market, Vicente Foods, and Amazon Fresh.
Here are some other chickpea alternatives:
- Raw chickpeas (¾ cup) soaked and cooked (with baking soda) according to the directions in the recipe card.
- Try jarred or boxed chickpeas.
- My least favorite choice is a 15-oz can cooked chickpeas (drained) because they may have a metallic taste and are usually less soft with many skins. However, they will work, but not quite as well. - Tahini: Use paste that is 100% sesame and high quality for the best flavor. You can taste the difference between the high quality tahinis and the others. Sometimes the cheaper brands are bitter.
My favorite high quality tahini brands are Seed + Mill and Soom. I have used mid-level brands like Trader Joe's and Al Wadi Al Akhdar when that's what I had access to. The mid-level brands work, but not quite as well. - Lemon juice: You'll need the juice of half of a large lemon. Use fresh and not bottled.
- Seasonings: Ground cumin, small clove garlic, and kosher salt.
- Water: Use filtered water or cooking liquid from the chickpeas.
- Optional garnish: A drizzle of olive oil over the top and a sprinkle of za’atar make this hummus extra tasty.
How to Make Homemade Hummus
See the recipe card below for complete directions.
Use these process shots to help get the best results and to visual each step.

Step 1: Macerate the garlic in a high-powered blender or food processor.

Step 2: Add all the remaining ingredients (except garnish), and process until very smooth.
What's The Secret to Smooth and Creamy Hummus?
If you research hummus recipes on the internet, you'll find various food bloggers and chefs touting their method as the best. Here are a few of the controversies I've found, and my thoughts on them.
Do I need to peel the chickpeas?
Some recipes recommend peeling chickpeas for the best texture. I think that is way too tedious and unrealistic, but apparently it does help. I have 3 workarounds in lieu of peeling:
- High powered blender:
A high powered blender like a Vitamix on high speed makes everything silky smooth. A food processor gets the job done too, but it's not as smooth. - Melissa's Produce Ready-Made Chickpeas:
These are my secret weapon. They come already peeled. - Cook dried chickpeas with baking soda:
The baking soda helps soften the chickpeas and their skins. Also, cook the chickpeas until they are very soft and almost mushy. Cook them longer than you would for keeping the chickpeas whole in salad. These strategies help make smoother hummus.
Should I use a lot of tahini in my hummus?
Restauranteur and chef Michael Solomonov is known for using a high ratio of tahini in his hummus. I tried his ratio in my home kitchen and found that hummus to be too tahini forward. I feel that the ratio in my recipe has a better balance of flavors without any one ingredient being too prominent.
Do I need cold water to make hummus?
Here too, the internet is loaded with recommendations to use cold water to get the fluffiest texture, although I didn't find a sound rationale for doing so. I didn't detect a significant difference in the texture of the hummus due to water temperature. I think using a high-powered blender is what creates a fluffy hummus.
Are dried chickpeas the best for making hummus?
I think that making hummus by cooking dried chickpeas from scratch is ideal, but that's not always realistic. That's why I recommend an alternative like Melissa's Produce's ready-to-eat refrigerated chickpeas. Or jarred or vacuum packed is worth a try too.
Hummus Toppings
There’s no limit to what you can sprinkle or drizzle on top of hummus. Selecting your favorite toppings is a great way to personalize your hummus. Here are a few ideas for hummus toppings:
- sumac
- za'atar
- smoked paprika
- extra virgin olive oil
- whole chickpeas
- pomegranate
- chopped tomato and parsley
- pinenuts
- olives
- chopped sundried tomatoes
Top Tips
- Be sure to let the garlic sit in the lemon juice for about 10 minutes. This process macerates or lessens the harshness of the garlic.
- Add water gradually so you can achieve the consistency you want. Note that the hummus will thicken after it's been refrigerated.
- Scrape down the bowl of the food processor or blender as you mix to ensure a consistent texture.
- Run a blender or food processor long enough to get a smooth consistency. Up to about 5 minutes in a food processor.
- Taste test your hummus and adjust seasonings until it's to your liking.
Equipment
The best option to get a super smooth hummus consistency is to use a high-powered blender like a Vitamix. A food processor will also work, but not as well as the Vitamix.

Make Ahead and Storage
Make ahead: Yes, you can make hummus ahead and refrigerate or freeze it. Nevertheless, I like it best freshly made. Keep in mind that it's best to let the hummus chill for a couple hours so the flavors can develop.
How to freeze: If you make a big batch or need to make it in advance, you can prepare it and freeze it for up to 3 months. Thaw in the refrigerator overnight. Remember to label and date.
How to store: Store in an airtight container for up to 4 days in the refrigerator.
Other Middle Eastern and Israeli Recipes
These Middle Eastern and Israeli recipes are full of fabulous herbs and spices. Add them to your menu to serve along with your homemade hummus.
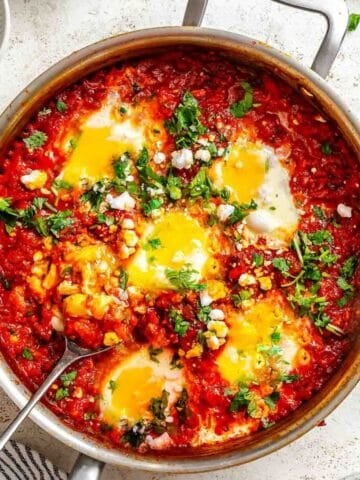
- Shakshuka (poached eggs in spicy tomato sauce)
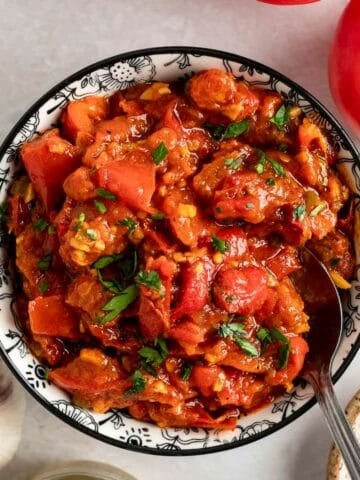
- Matbucha: Moroccan tomato and red pepper sauce
- Kousa Mahshi (Stuffed Zucchini with meat and rice)
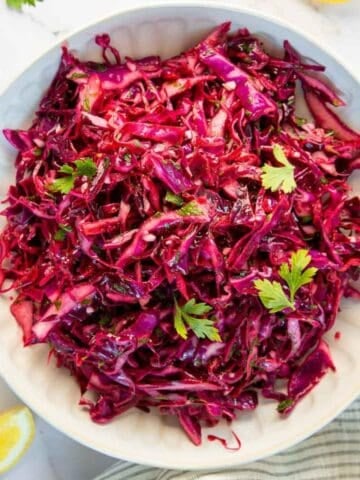
- Red Cabbage Slaw (no mayo)

Frequently Asked Questions
Baba ganoush is a dip made from eggplant, while hummus is made with chickpeas.
You can never have too much hummus! Use it for sandwiches, drizzle over salads, or use as a sauce for any meat, chicken, or fish dish.
Yes, hummus needs to be stored in the refrigerator or freezer.
Linger at Dana's Table a little longer for more free recipes.
Subscribe to my newsletter, and follow along on Facebook, Instagram, and Pinterest for the latest updates.
Recipe
Homemade Hummus (Smooth and Creamy)
Equipment
- Vitamix , a food processor also works
Ingredients
- 1 small clove garlic minced
- juice of half of a large lemon About 3 tablespoons
- 1 (9 ounce) box Melissa’s Produce Peeled and Steamed Chickpeas include any liquid (equals 1 15-oz can cooked chickpeas or start with ¾ cup raw chickpeas and soak and cook them- directions to follow
- ½ cup tahini 100% sesame
- ¼ teaspoon ground cumin
- ½ teaspoon Diamond Crystal kosher salt or more to taste
- ¼ to ½ cup filtered water or cooking liquid from the chickpeas
- Optional garnish: a drizzle of extra virgin olive oil and a sprinkle of za’atar.
Using Dried Chickpeas - Optional
- ¾ cup dried chickpeas
- ½ teaspoon baking soda
- water
Instructions
- Macerate: Place the minced garlic and lemon juice in a high-powered blender or food processor. Let it sit for about 10 minutes to macerate the garlic and make it less potent.
- Process: Add in the cooked chickpeas, tahini, cumin, and salt. Start with ¼ cup of water. Process until smooth and creamy, like the consistency of thick pudding. Taste for thickness and seasoning, and adjust water and seasoning as needed.
- Chill: Refrigerate for about 1 to 2 hours to chill.
- Serve: Drizzle with olive oil and a sprinkle of za’atar and serve with crudités and pita or pita chips.
To make hummus using dried chickpeas
- Soak: Soak dried chickpeas in a generous amount of room temperature water in a large bowl, covered, on the counter for at least 12 hours or overnight. Chickpeas may double in size.
- Drain then Boil: Drain the chickpeas, and place them in a pot with plenty of fresh water and the baking soda. Boil on high uncovered for 10 minutes, then skim off any foam.
- Simmer: Reduce heat to medium-low and simmer uncovered until very soft, about 30–40 minutes. Chickpeas should mash easily.
- Reserve: Keep ½ cup of the cooking liquid, and drain the chickpeas. Follow the instructions above for how to make the hummus.
Notes
- Steamed ready-to-eat chickpeas: These are found in the produce section in a refrigerated case at the supermarket or on Amazon Fresh.
- Za'atar is a Middle Eastern seasoning blend with an herby flavor profile.
- Add water gradually so you can achieve the consistency you want. Note the hummus will thicken after it's been refrigerated.
- Scrape down the bowl of the food processor or Vitamix as you blend to ensure a consistent texture.
- Taste test the hummus, and adjust seasonings to taste.
- Store in an airtight container for up to 4 days in the refrigerator or up to 3 months in the freezer.
- Recipe inspired by: Danielle Oron at https://iwillnoteatoysters.com.
Nutrition
Nutritional Disclaimer
Nutritional information is an estimation only.


Comments
No Comments