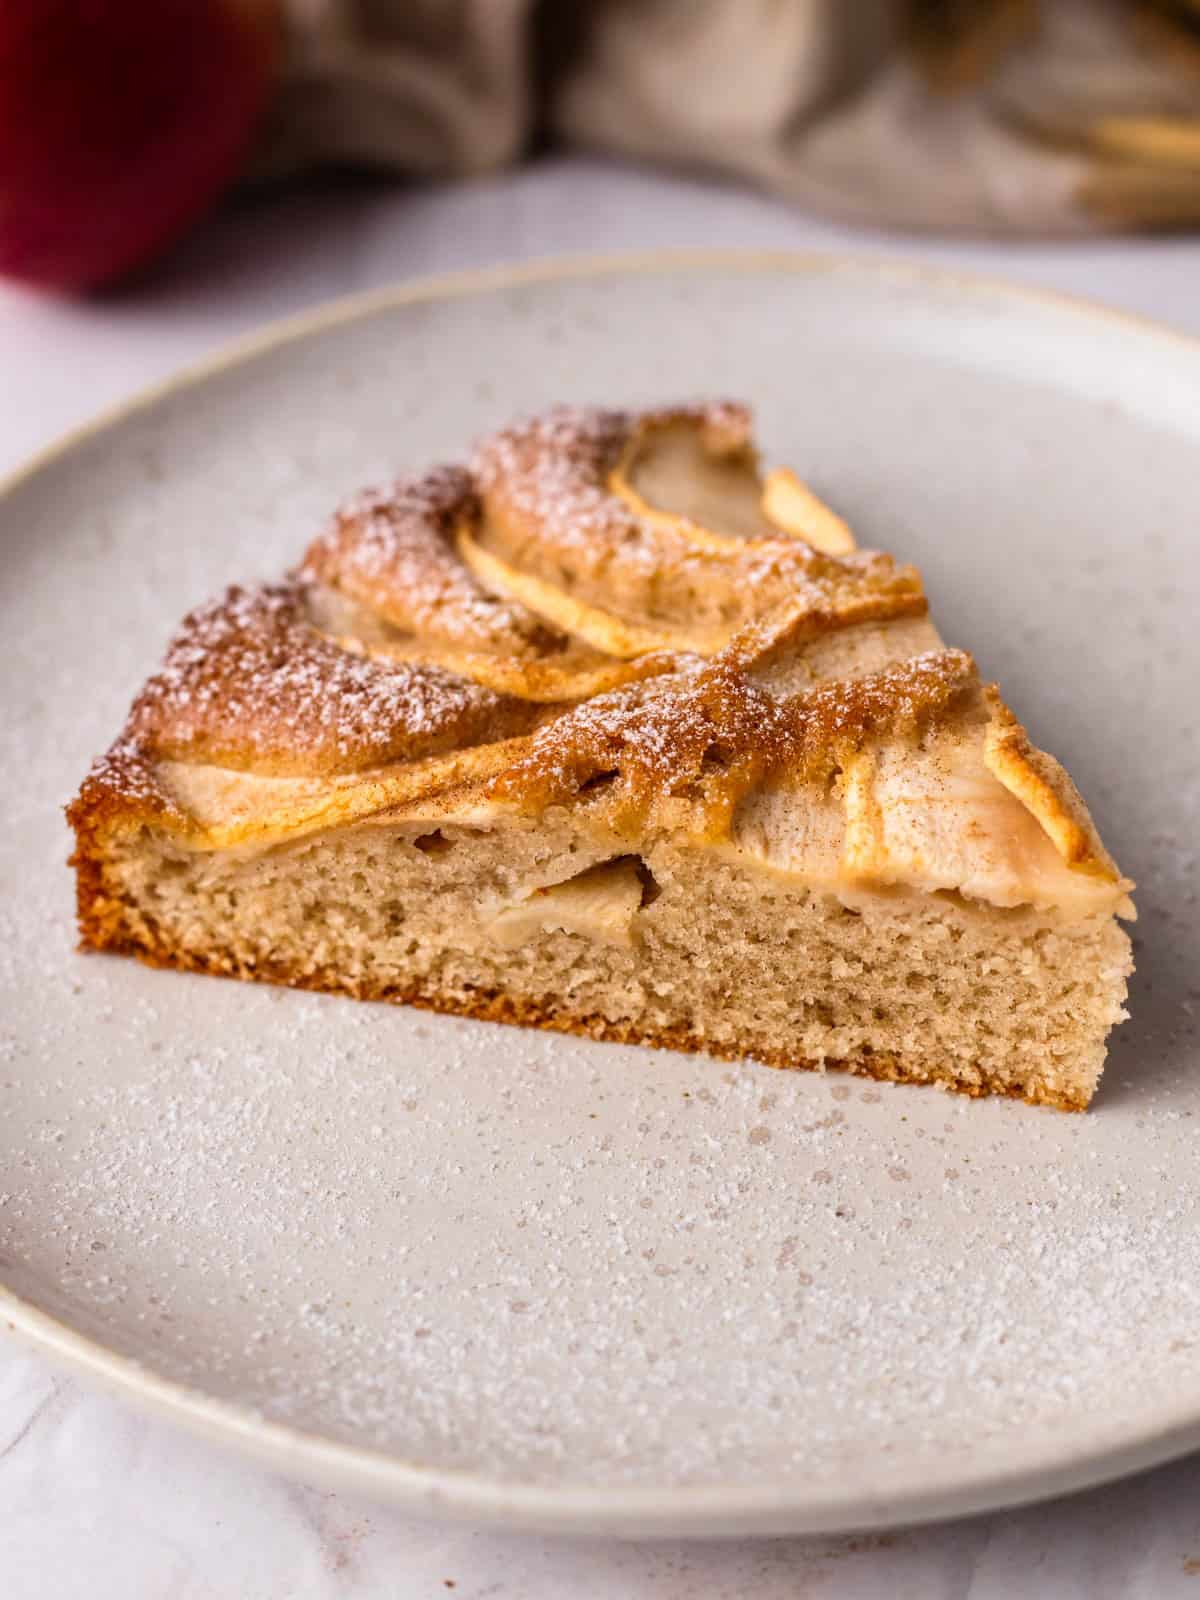
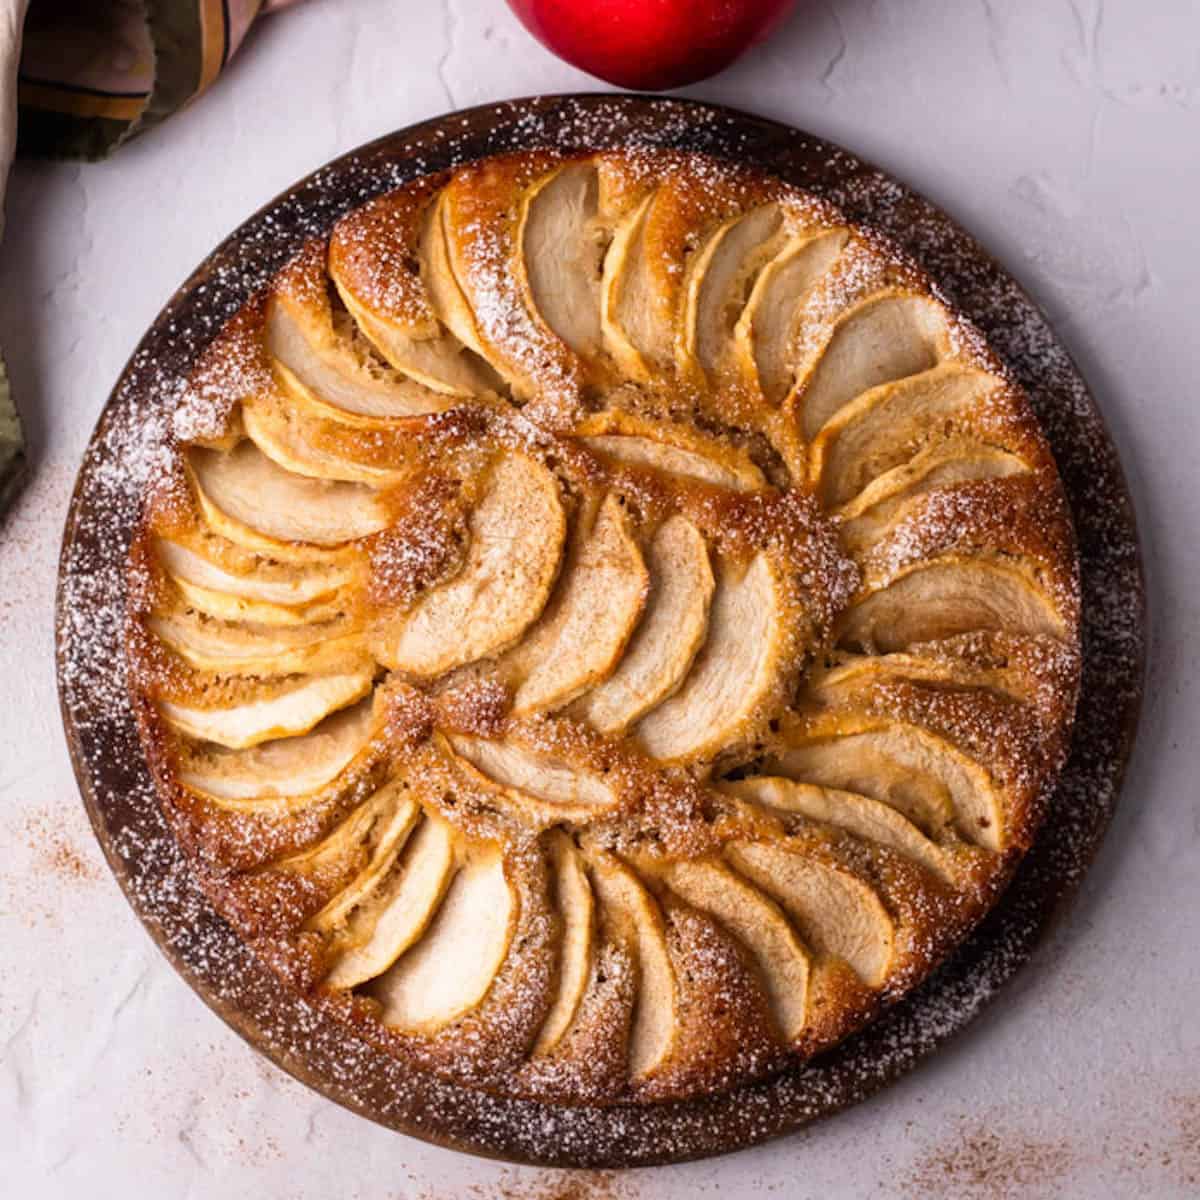
This easy cinnamon apple cake is made in one bowl and is mixed by hand. No mixer needed. The apple slice design makes a beautiful presentation on this rustic simple cake. It’s dairy free, made with whole wheat, and just the right size for a small gathering.
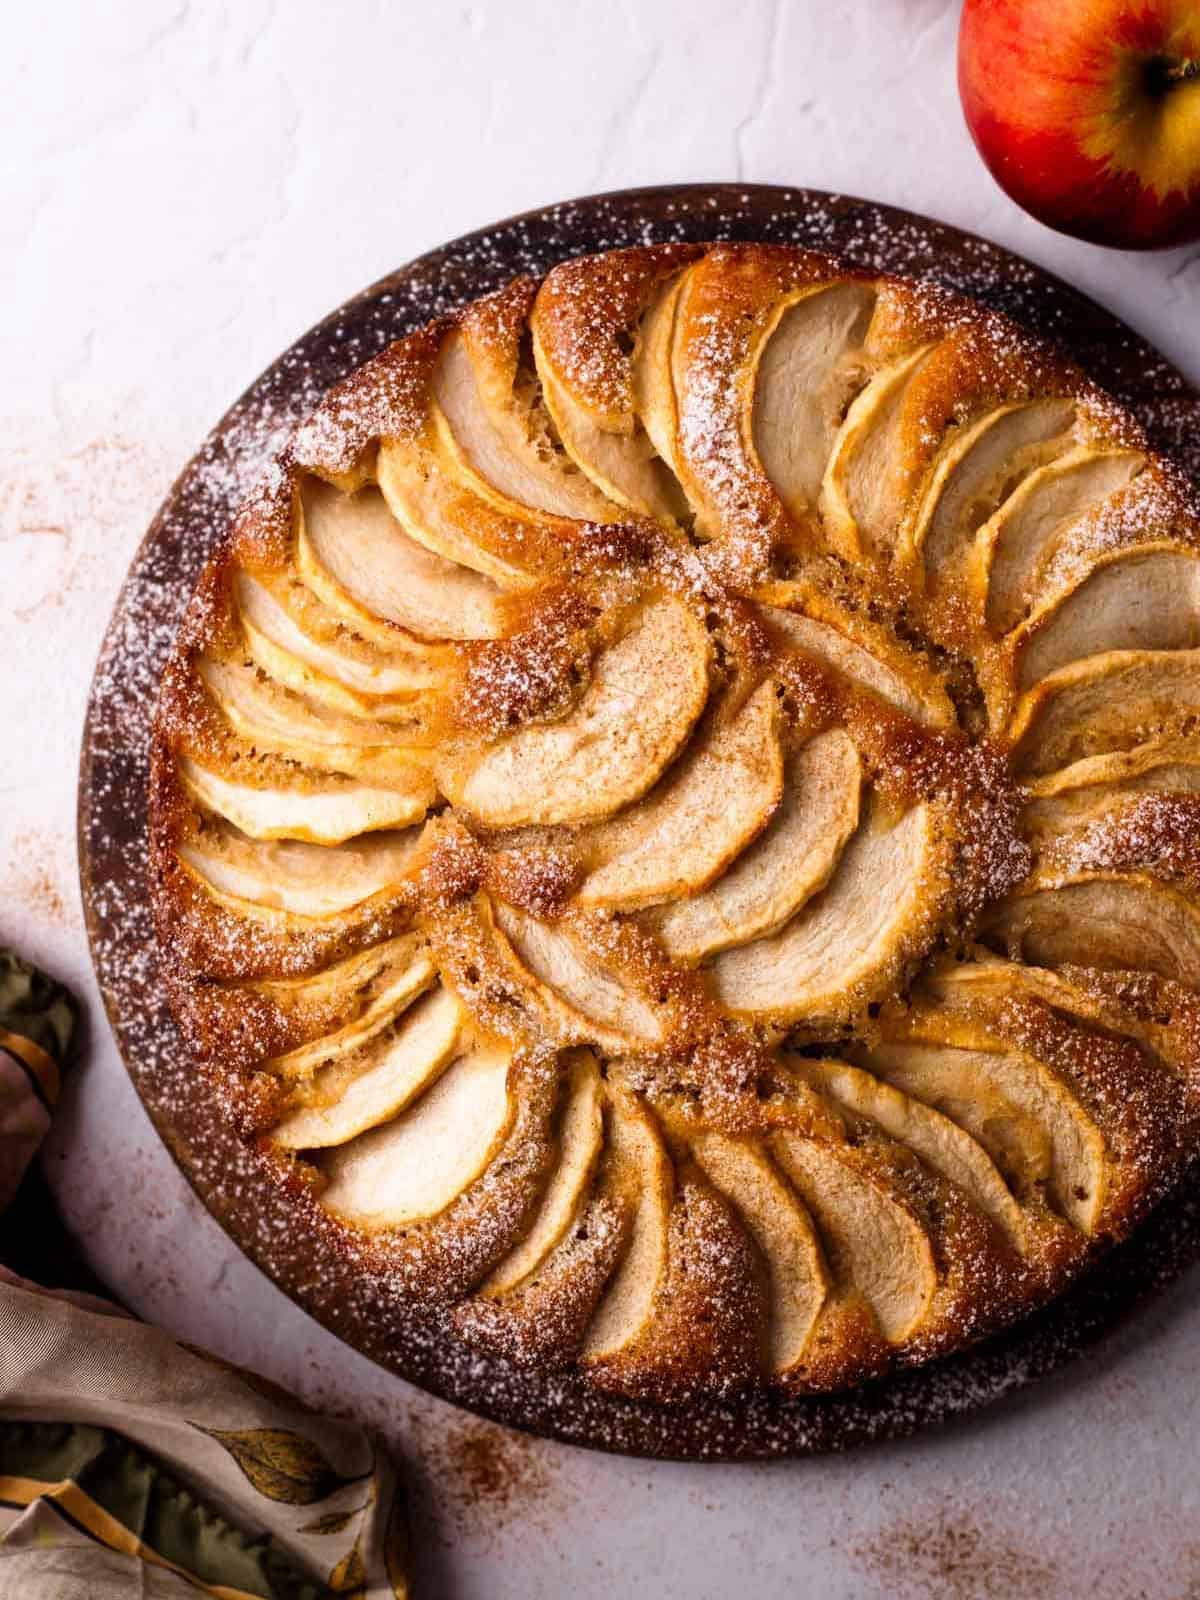
Apples recipes are perfect for fall and Rosh Hashanah, and work with both sweet and savory recipes. There’s Parsnip and Apple Soup and Fall Harvest Salad that have apples added for a touch of sweetness. For apple desserts try Apple Honey Cake, Apple Crisp, or this delicious one bowl apple cake!
Jump to:
Why You'll Love This Recipe
- This easy cake can be whipped up quickly with no special equipment required. Mix everything by hand in one bowl.
- Cake is fairly thin making it a smaller cake, so it’s good for a family meal or small gathering.
- This fresh apple cake recipe is dairy-free and parve, which makes it well suited to serve with a kosher meat meal.
Ingredient Notes and Substitutions
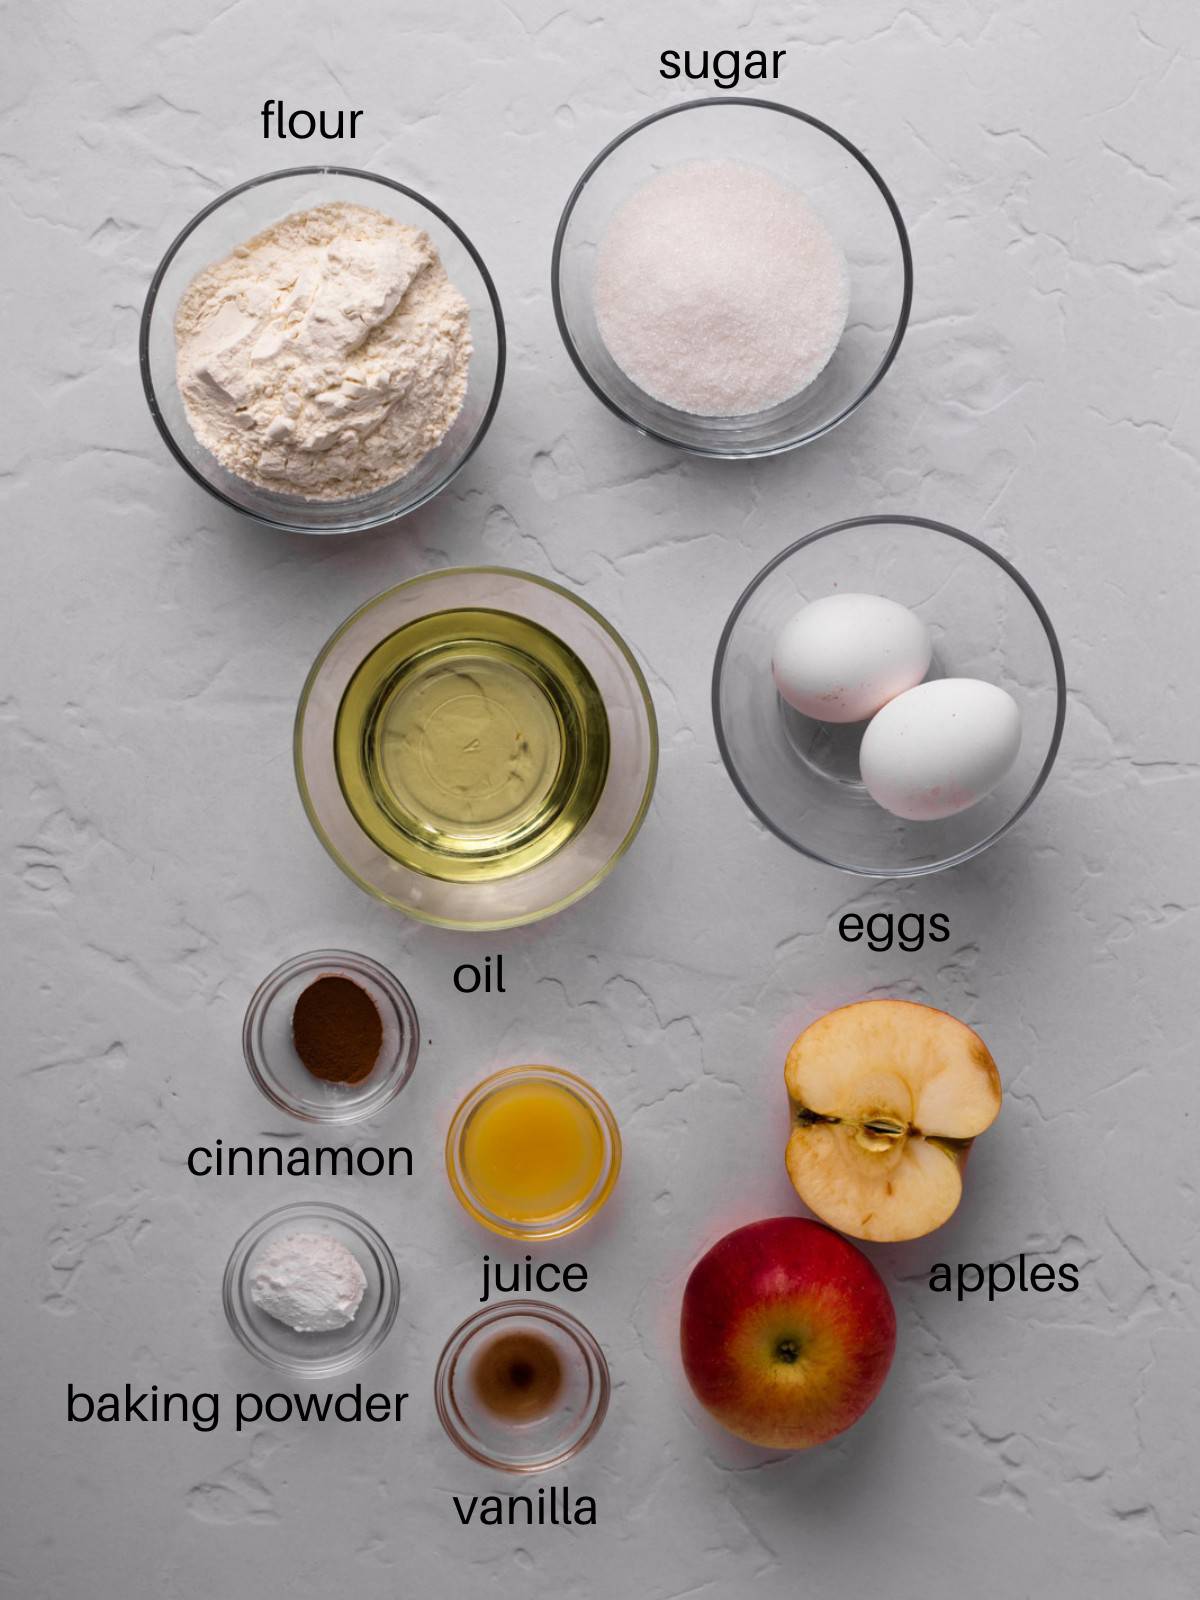
See the recipe card below for a complete ingredient list and measurements.
- Sweet apples - This cake is lightly sweetened so the natural sweetness of the fresh apples can shine. Use a sweeter variety of apples like Fuji, Envy, Ambrosia, or Gala apples. I used Envy. If you prefer a more tart cake, try Granny Smith or Honeycrisp apples.
- Oil - Grapeseed or canola work for this recipe. Substitute with olive oil which will add a richer flavor to the cake.
- White whole wheat flour - To make this cake slightly healthier with a more rustic texture, I use white whole wheat flour. Can substitute with regular all purpose flour. Stir flour, spoon into a measuring cup, and then level it off to properly measure flour.
- Orange juice - Adds a slight sweetness to the cake. Can substitute with an orange liquor as well.
- Cinnamon - Adds a warm spice flavor and makes this cake perfect for fall.
Step by Step Photos
See the recipe card below for complete directions.
This simple apple cake is made by hand without a mixer, and only takes about 1 hour to make.
Jump to Recipe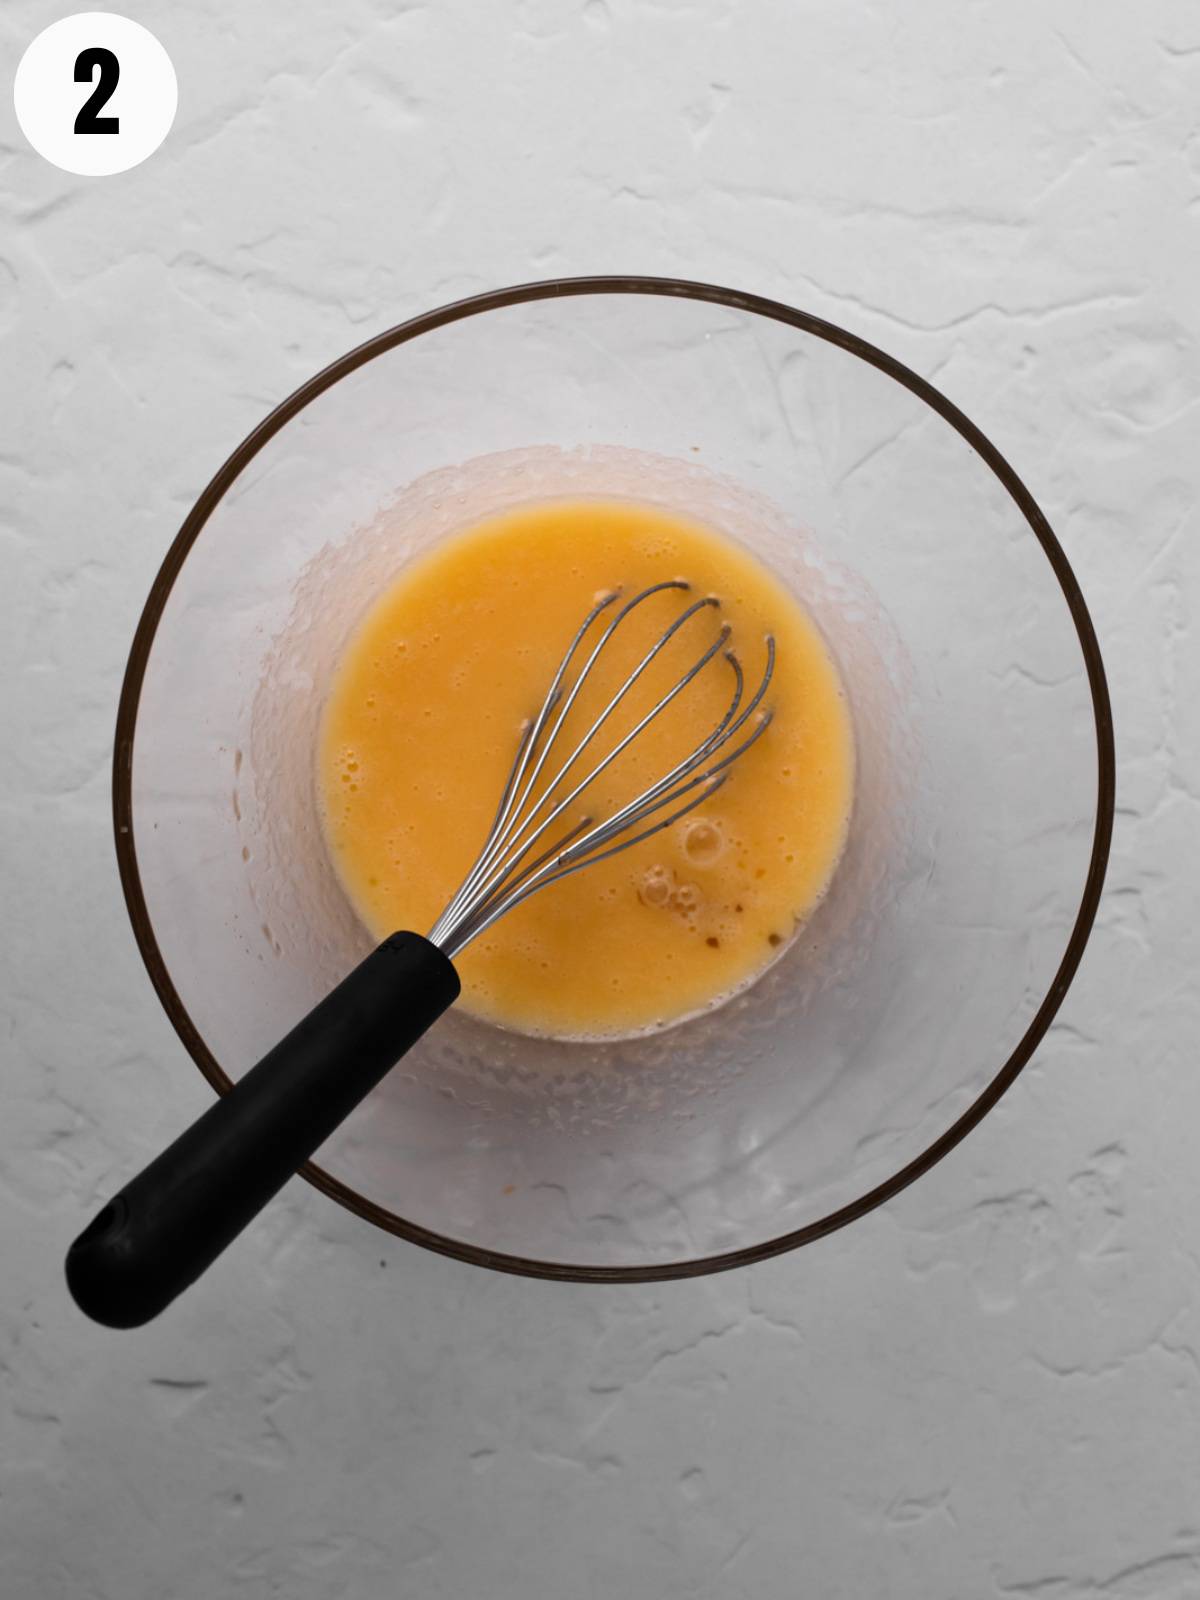
Step 2. Wet Ingredients
Whisk eggs and oil together until incorporated; then add vanilla and juice and whisk again.
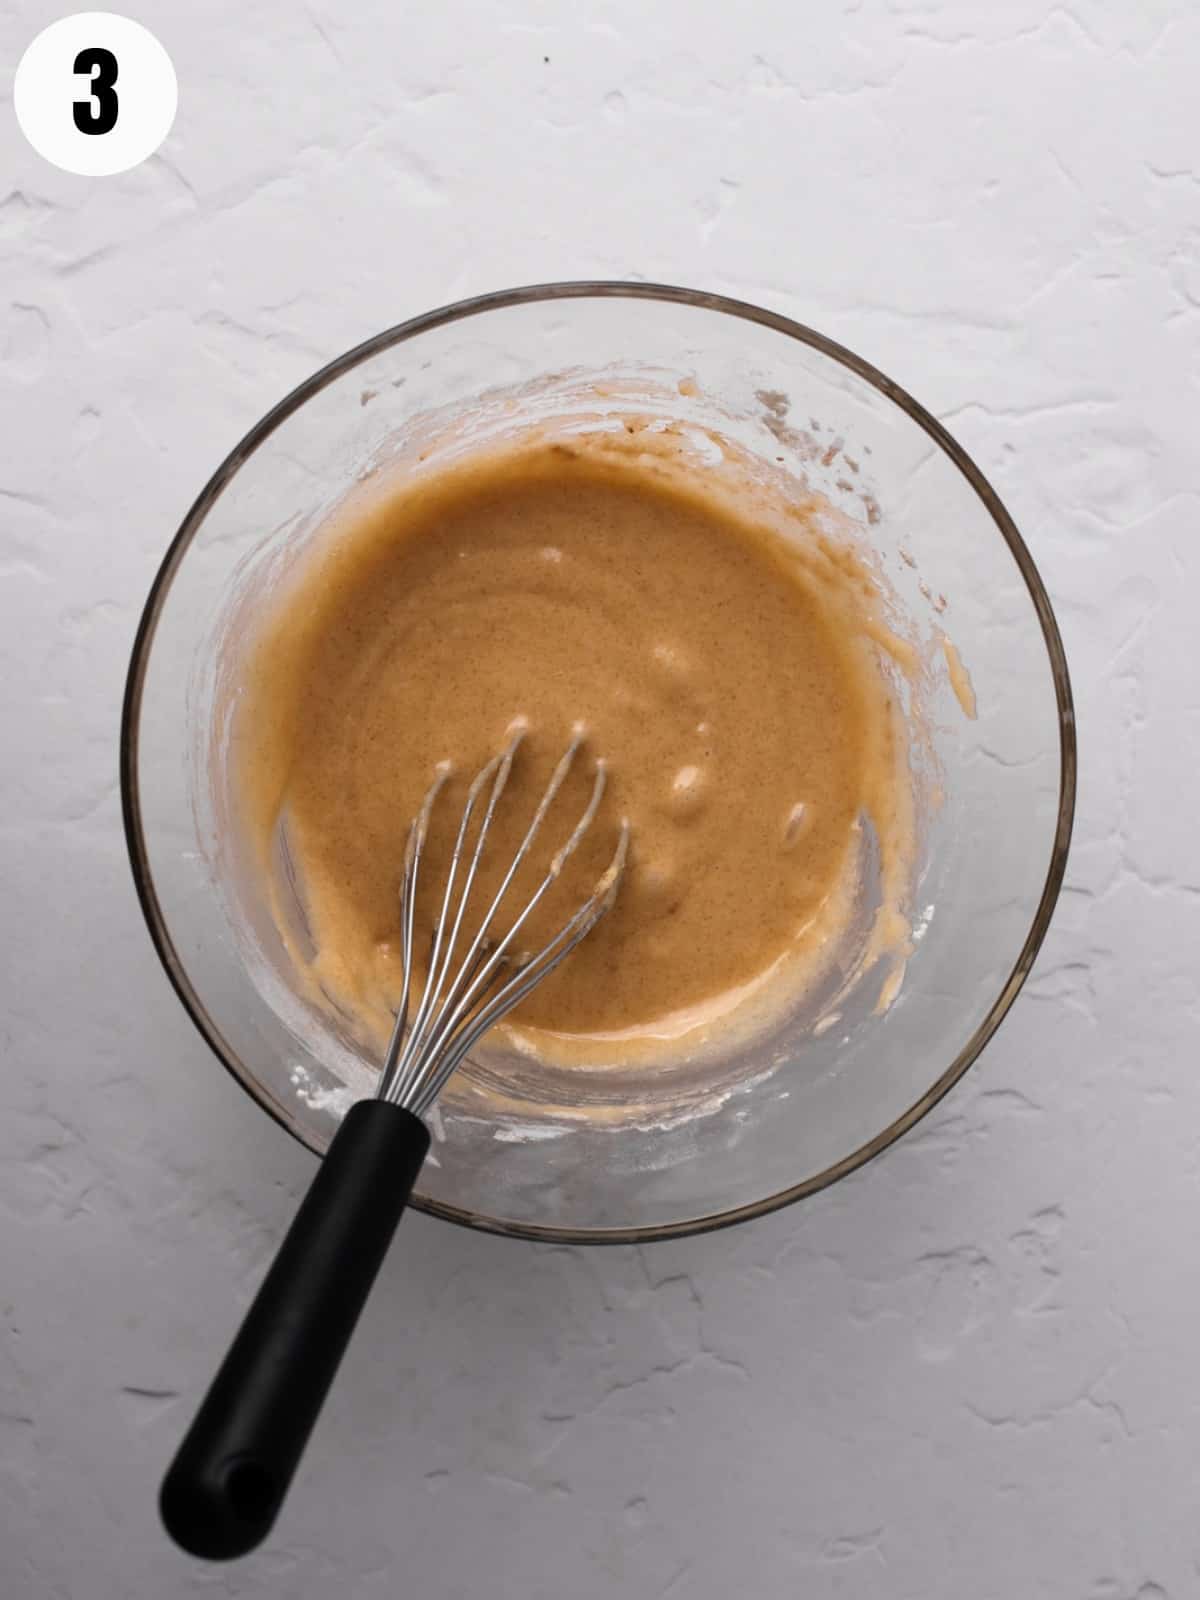
Step 3. Dry Ingredients
Mix in flour, sugar, baking powder, and cinnamon into the bowl. Stir until combined, but do not overmix. Batter will be thick.
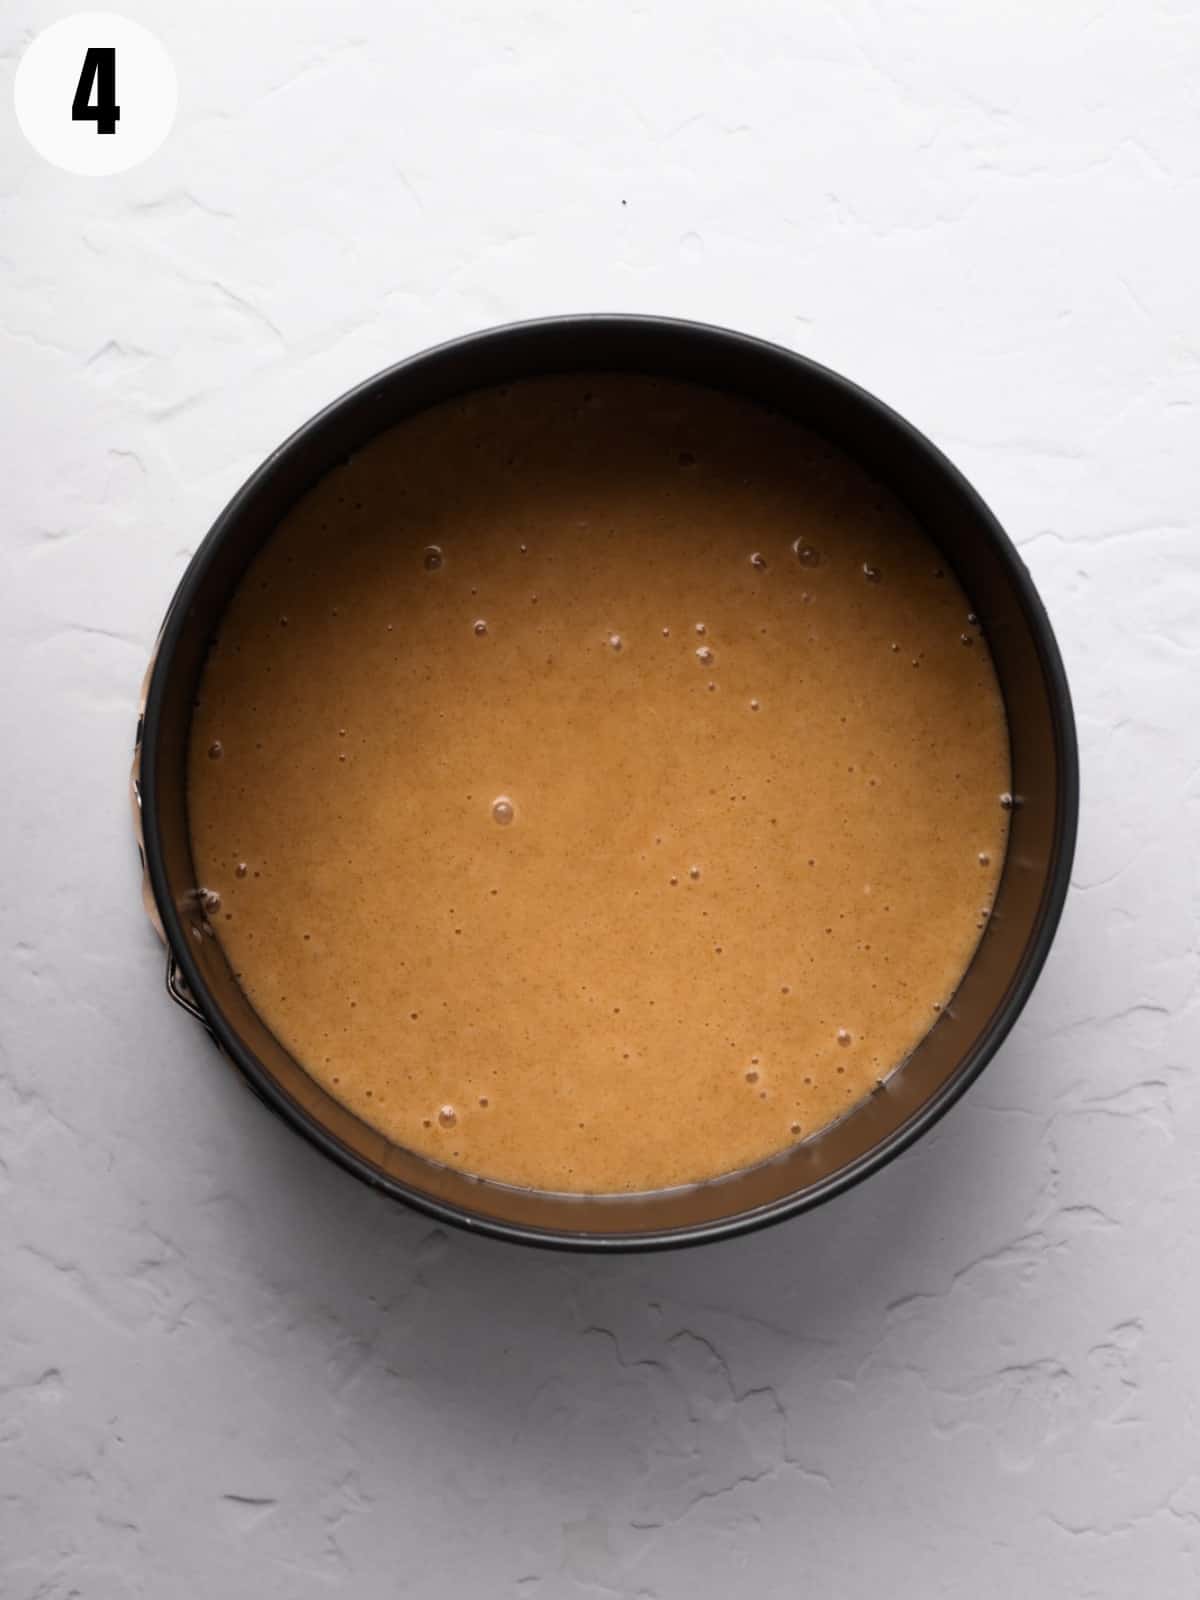
Step 4. Pour
Pour mixture into the prepared pan, and smooth flat. There is not a lot of batter because the cake is thin.
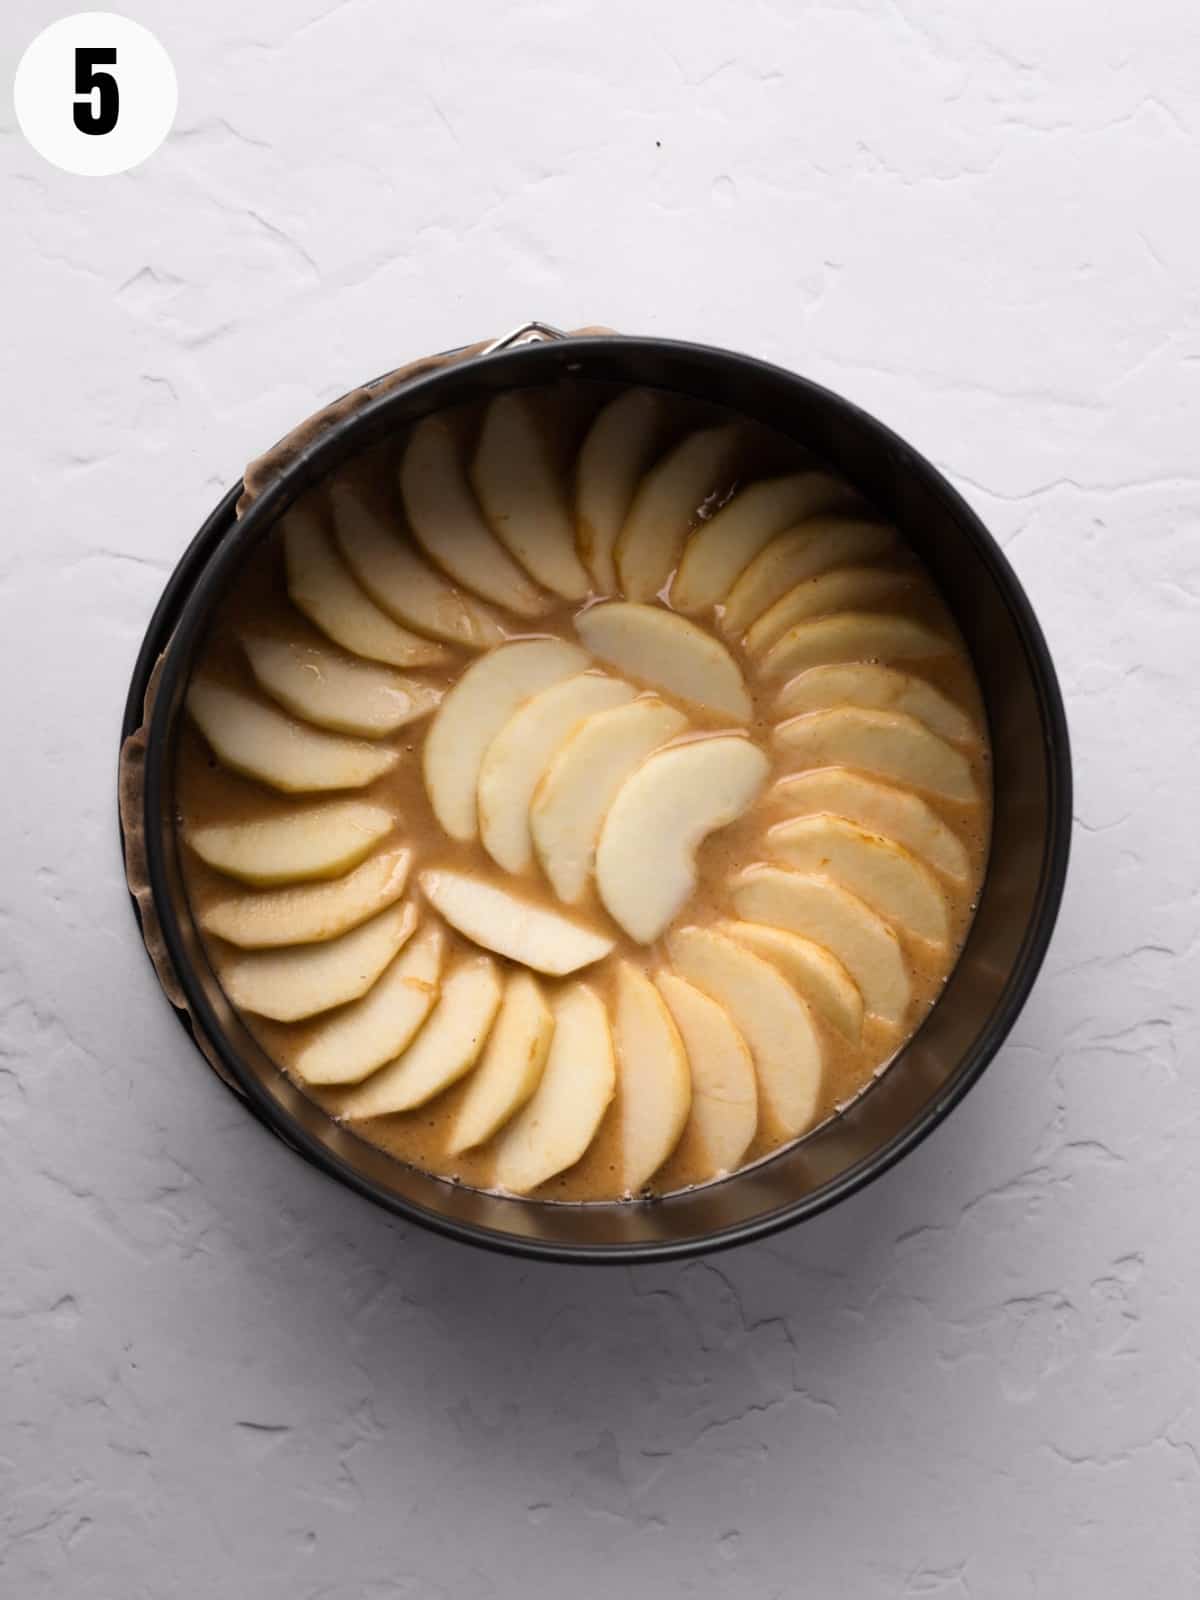
Step 5. Arrange
Arrange the apple slices in a pretty overlapping design like the photo. There may be a few extra apple slices.
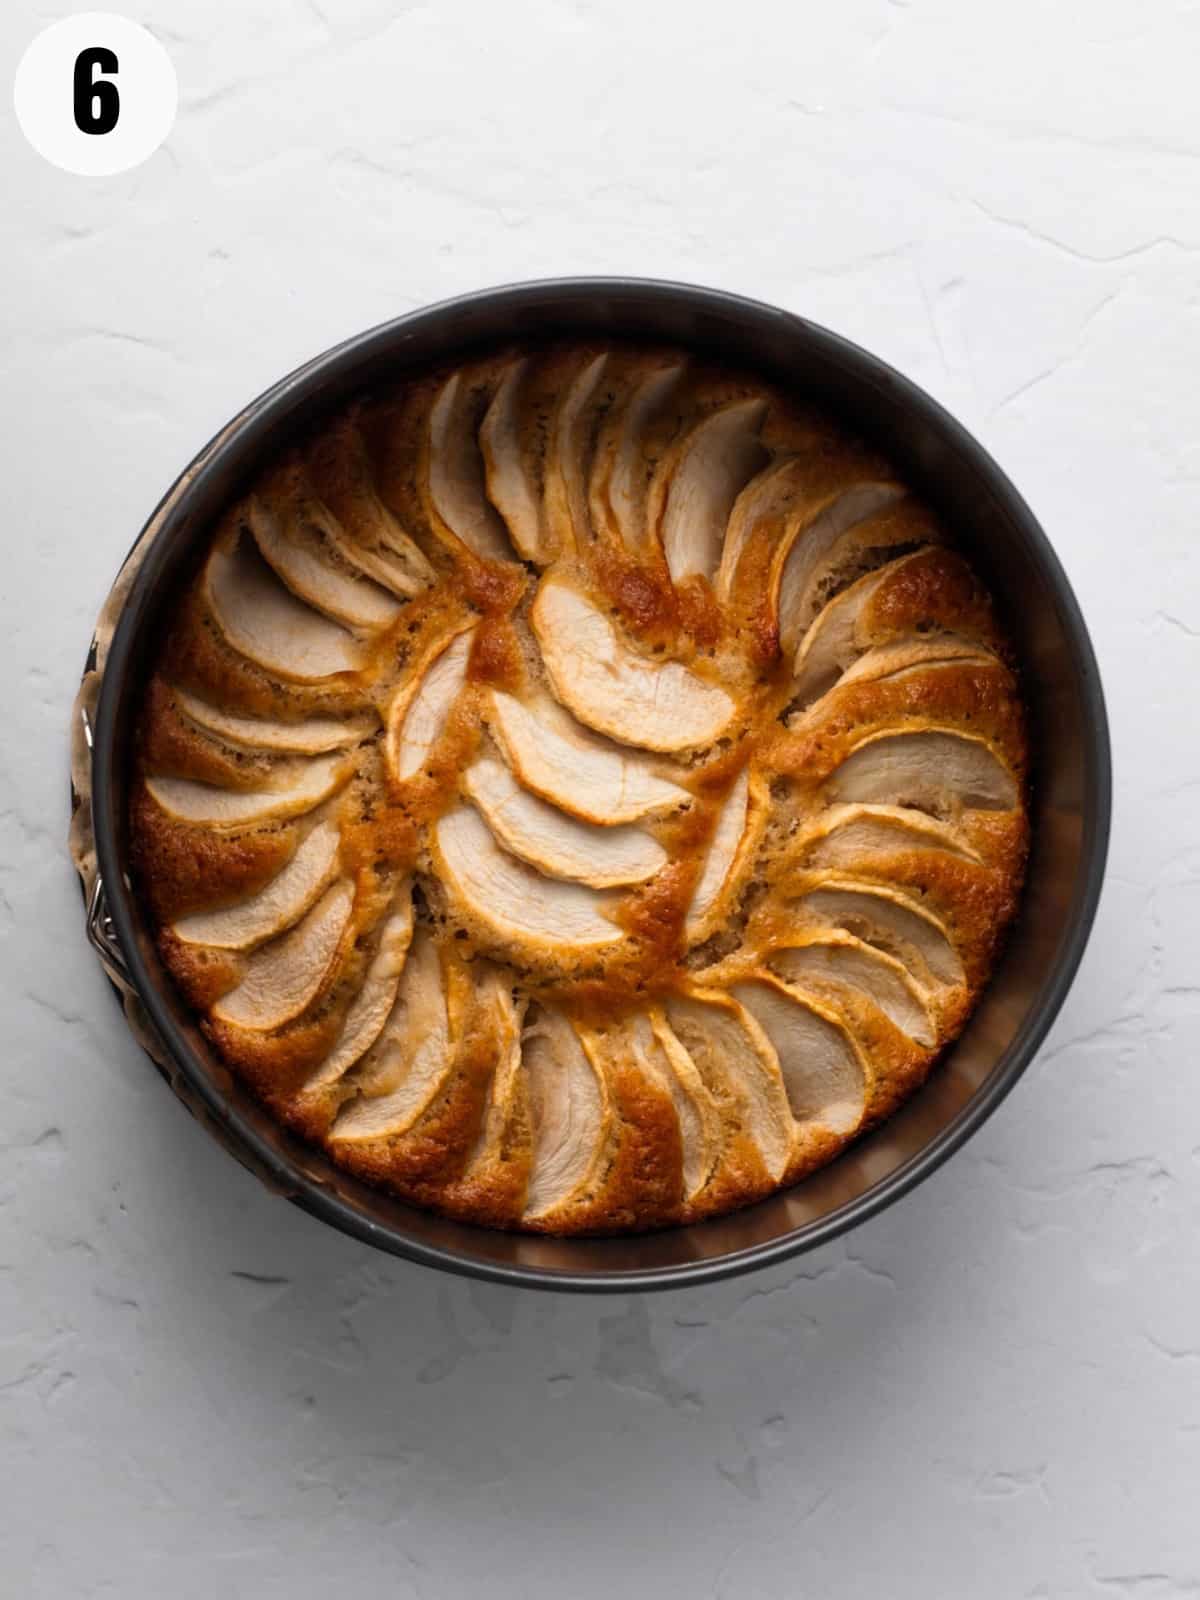
Step 6. Bake
Bake until lightly golden brown on top. Cool on a cooling rack. Run knife around the inside of the pan to help loosen the cake from the springform. Release the latch, and unmold.
Serve warm or room temperature. Optional to top the cake with confectioners powdered sugar.
Top Tips
- A springform pan makes removing the cake much easier.
- To prevent apples from browning, squeeze some lemon juice on top.
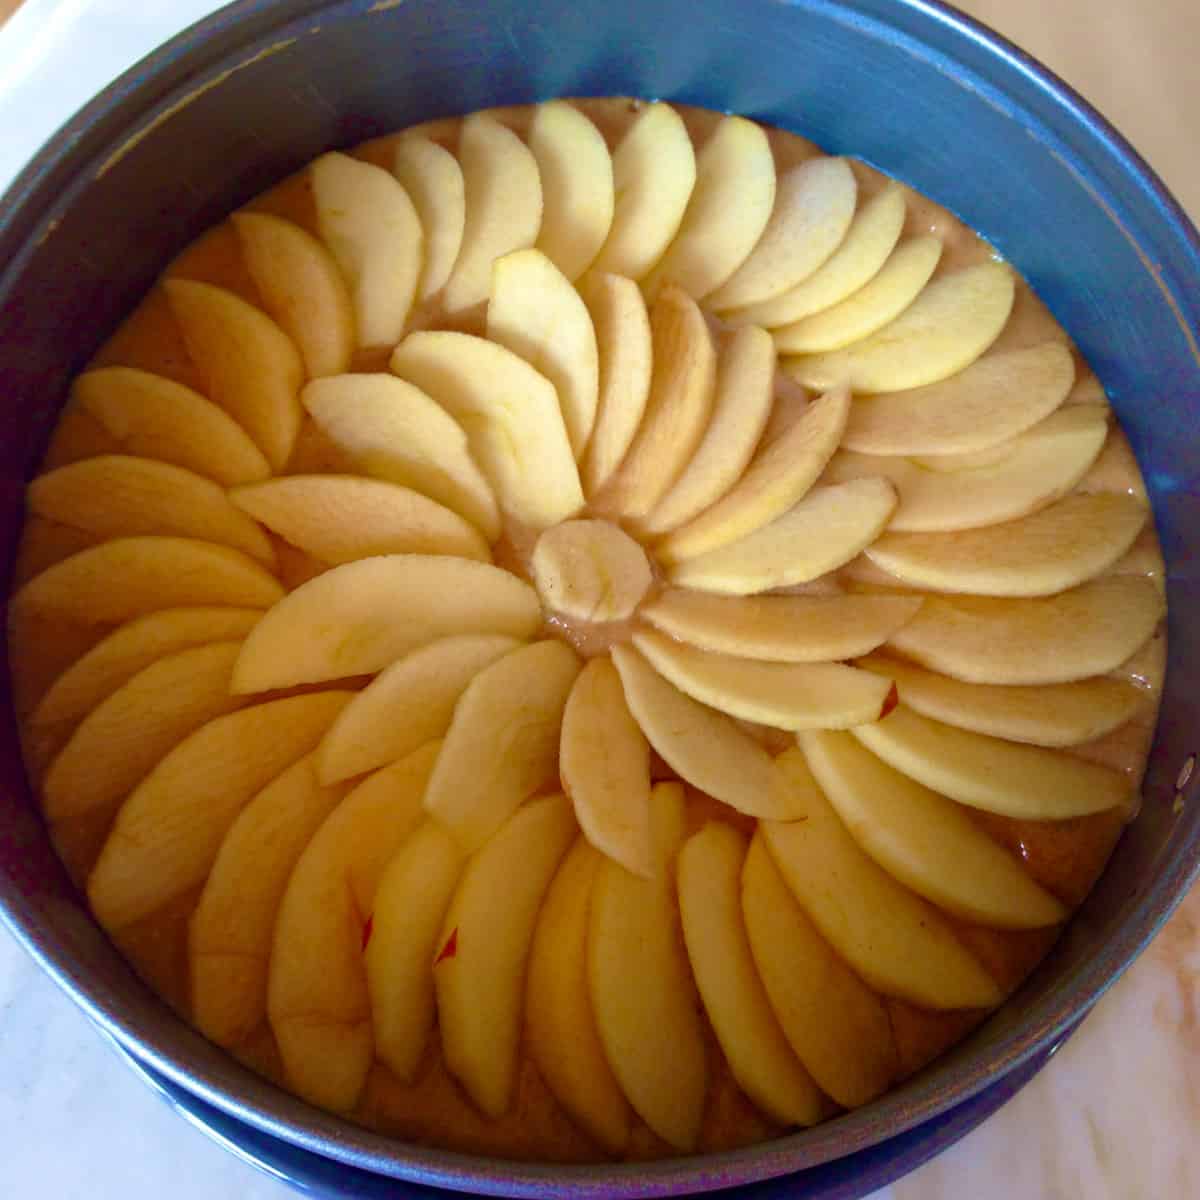
- For larger apples, make a ring of apples around the outside with a smaller apple design in the center. For smaller apples, a second ring of apples will fit in the center which looks extra decorative, as seen in the photo below.
Make Ahead
This easy apple cake can be made one day ahead of time. Once completely cool, cover well, and store at room temperature for up to one day.
Storage and Reheating
How to store: Store leftover cake covered tightly with plastic wrap at room temperature for up to one day. Or refrigerate for up to 4-5 days.
How to freeze: Wrap the cake well with a double layer like one of plastic wrap and then another of foil. Freeze for up to six months. Defrost on the counter at room temperature for about 6-8 hours.
How to reheat: To serve this cake warm, pop it in the microwave for 10-15 seconds at a time until warmed.
What to Serve with Apple Cake
A slice of this cake is great on its own, or serve it warm with a scoop of vanilla ice cream and a cup of coffee or tea. Apple cake is a great finish to a fall or Rosh Hashanah meal.
Linger at Dana's Table a little longer for more free recipes.
Subscribe to my newsletter, and follow along on Facebook, Instagram, and Pinterest for the latest updates.
This post was updated in 2023 to include new photos, revised text, and more tips. The recipe remains the same.
Recipe
Easy Apple Cake Recipe
Equipment
- Apple slicer optional
- Medium mixing bowl
Ingredients
- 2 small sweet apples I used Envy
- 2 large eggs
- ½ cup oil like grapeseed or canola
- ½ teaspoon real vanilla extract
- 2 tablespoons orange or tangerine juice or liqueur
- 1 cup white whole wheat flour
- ½ cup granulated white sugar
- 1 heaping teaspoon baking powder
- ½ teaspoon ground cinnamon
- powdered sugar optional garnish
Instructions
- Preheat oven to 350ºF (or 325 convection) with a rack in the middle of the oven. Lightly oil and flour a 9-inch springform pan.
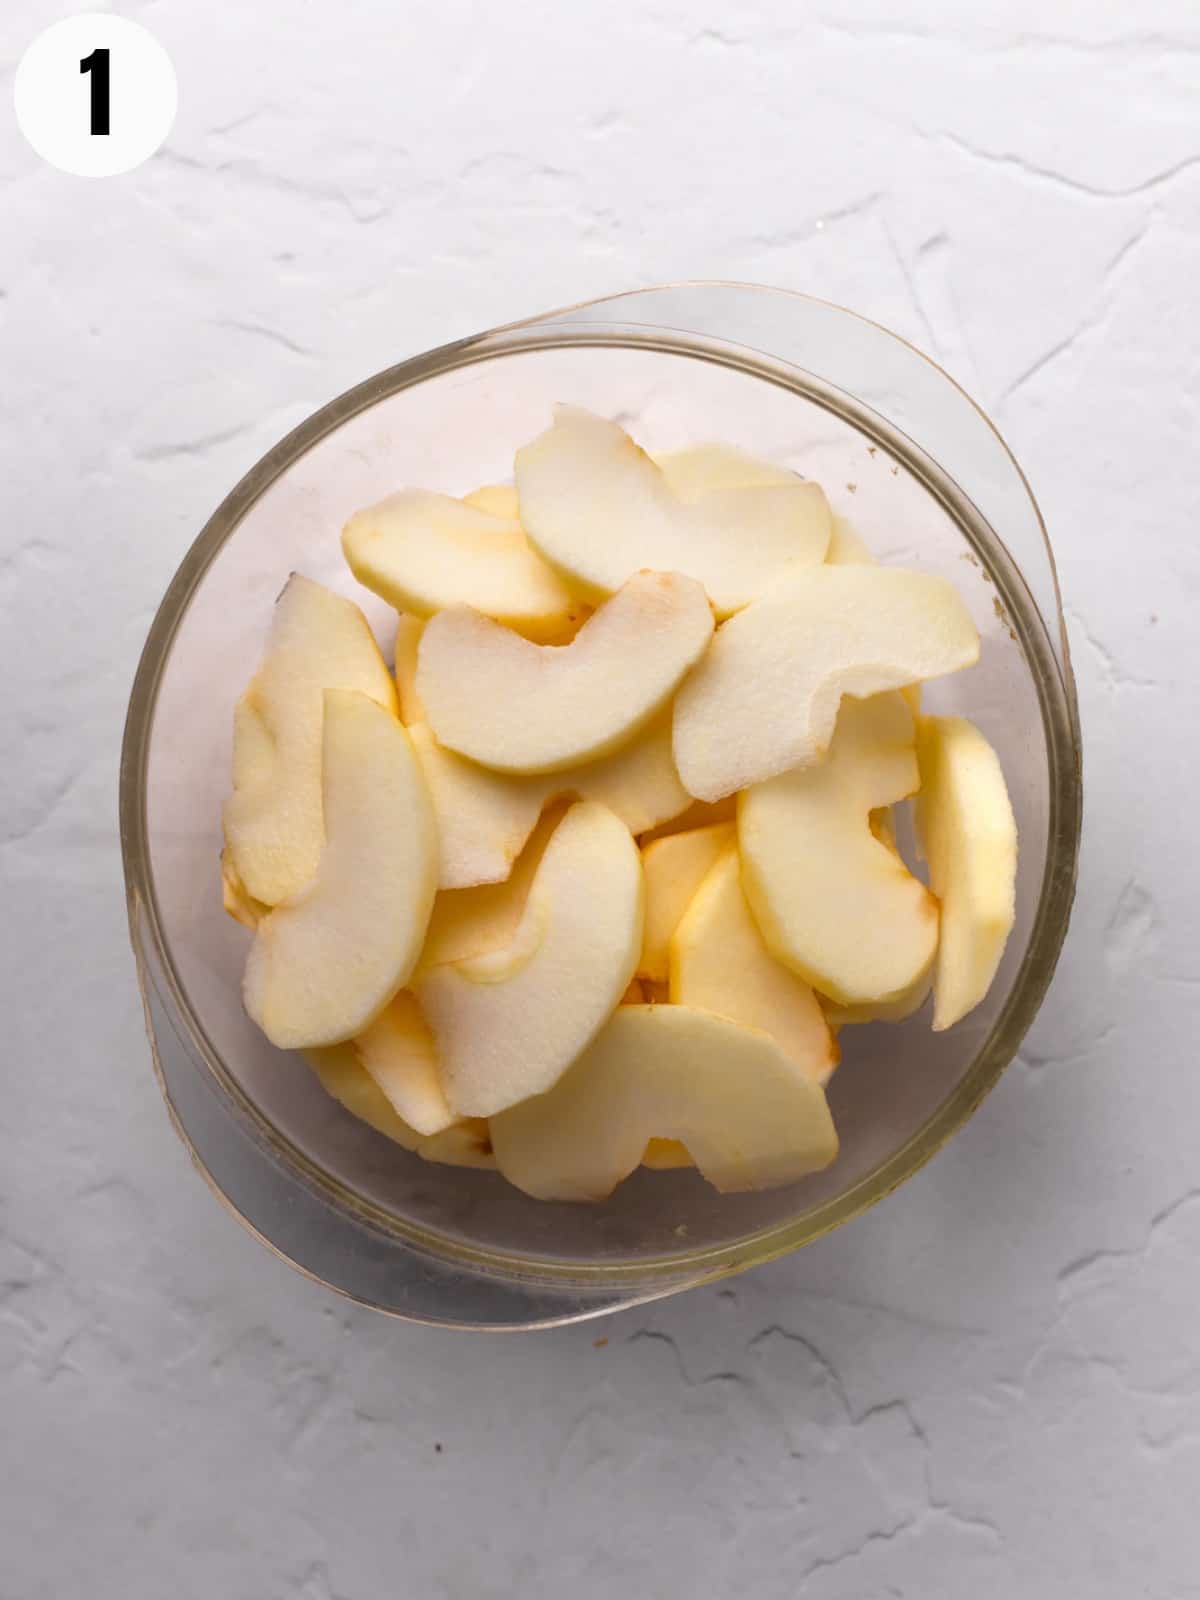
- Peel and thinly slice apples. I use an apple slicer that cores and cuts the apple into 8 slices. Then I cut each slice into 3 thin slices, yielding 24 slices per apple. Set aside.
- In a medium-sized bowl whisk the eggs and oil together until incorporated. Add vanilla and juice, and whisk again.
- Add the flour, sugar, baking powder, and cinnamon into the bowl. Stir or whisk until combined, but do not overmix. Batter will be thick.
- Spread the batter into prepared baking pan, and smooth flat. There is not a lot of batter because the cake is thin. Arrange the apple slices in a pretty overlapping design like the photo. Start by placing the slices along the side of the pan. Stick one edge of each slice into the batter and leave most of the slice on the surface. Overlap slices until the circle is complete. Then overlap apples to fill the small spot of batter in the center. You may have some extra slices.
- Bake cake for 45 to 55 minutes. Cake should be lightly brown on top. Test for doneness by lightly tapping on exposed cake and watch for it to spring back. Or insert a toothpick into cake near the center; cake is done when toothpick comes out clean.
- Cool a little on a rack. Run a knife around the inside of the pan to loosen the cake. Carefully, remove the springform ring. Optional to top with powdered sugar for garnish.
- Cover the cake well when cool. Cake can be made up to one day ahead. Store covered at room temperature for up to one day.
Notes
- Adapted from Mom's Kitchen Handbook.
- How to store: Store leftover cake covered tightly with plastic wrap at room temperature for up to one day. Or refrigerate for up to 4-5 days.
- How to freeze: Wrap the cake well with a double layer like one of plastic wrap and then another of foil. Freeze for up to six months. Defrost on the counter at room temperature for about 6-8 hours.
- How to reheat: To serve this cake warm, pop it in the microwave for 10-15 seconds at a time until warmed.
Nutrition
Nutritional Disclaimer
Nutritional information is an estimation only.




Lucy says
This looks perfect for Rosh Hashanah! I'm changing things up this year and making a pear tart, but I'm pinning this to try at some point this fall. Yum!
Dana @ Foodie Goes Healthy says
Yes, this great for Rosh Hashanah and throughout Fall. I love the idea of a pear tart too.
Julie says
Ooh, this looks great for fall!
Dana @ Foodie Goes Healthy says
Thanks Julie.